


How to Prepare Tissue Culture Plants for Your Planted Aquarium – Step-by-Step Guide
🌱 How to Prepare Tissue Culture Plants for Your Planted Aquarium – Step-by-Step Guide
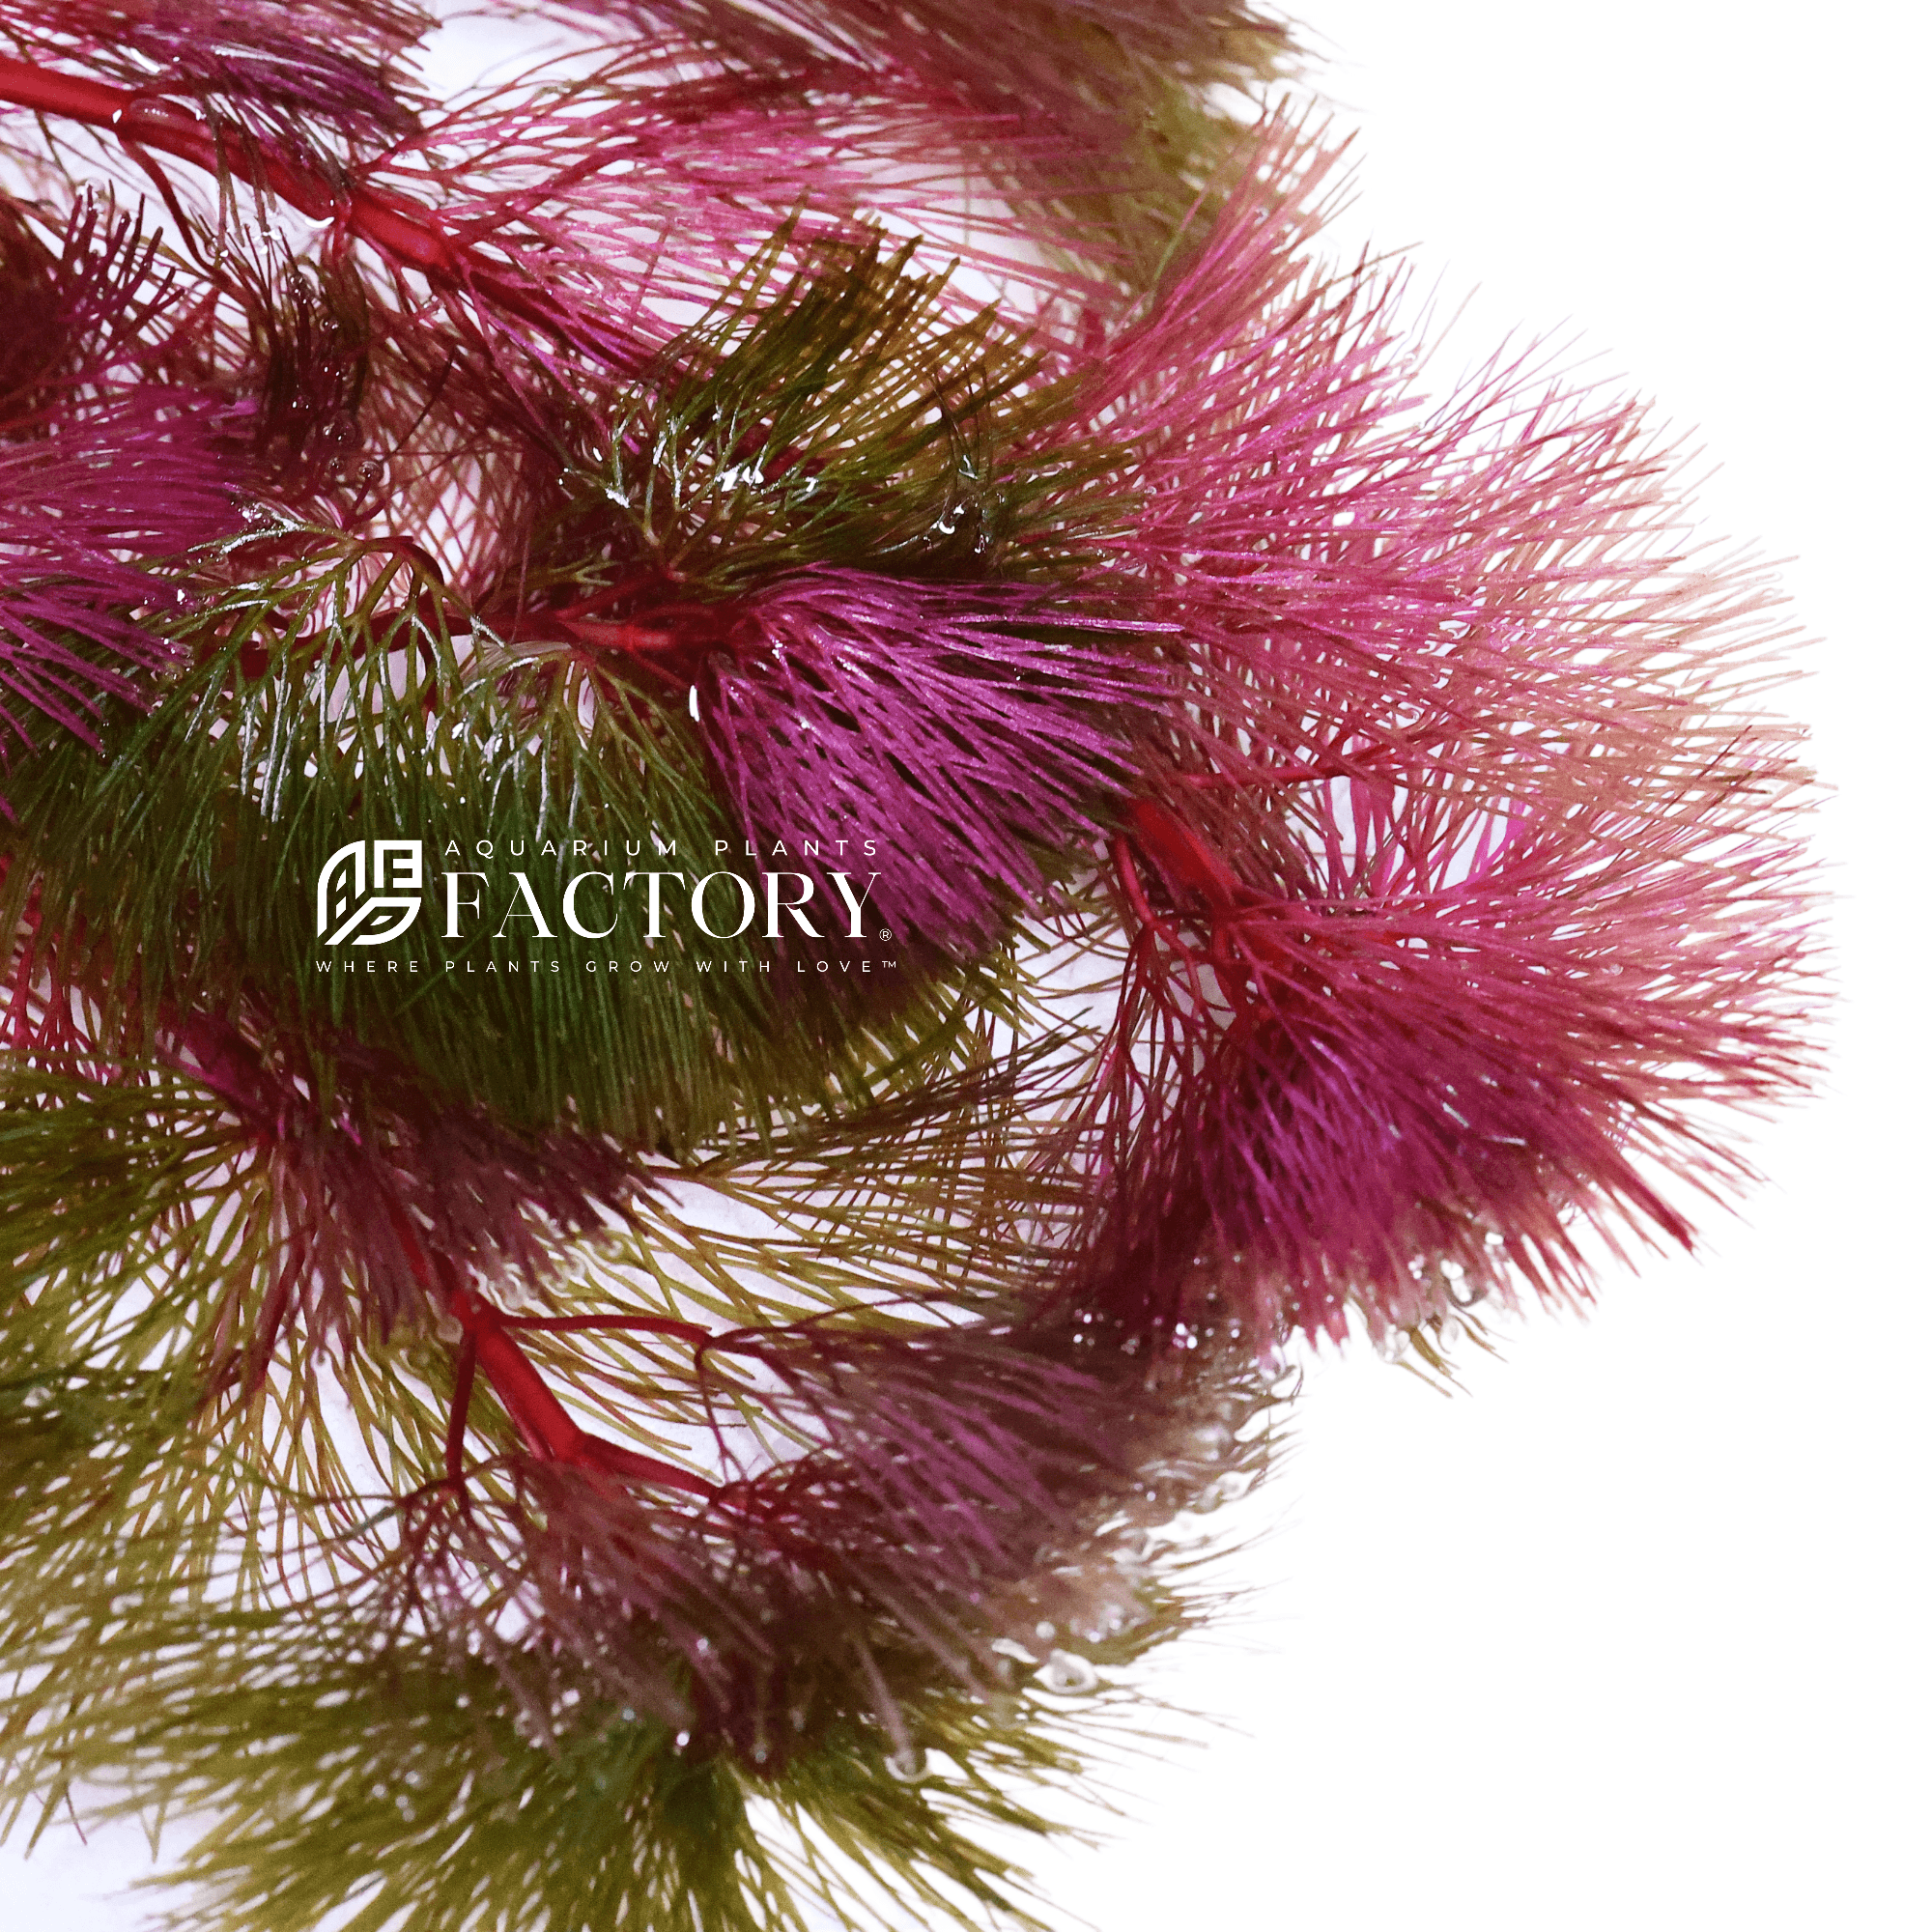
Tissue culture aquarium plants, also known as in vitro plants, have become a popular choice for aquascaping enthusiasts and beginner hobbyists alike. Why? Because they are 100% free of snails, algae, and harmful pathogens, making them one of the cleanest and safest options for any freshwater tank—especially for shrimp tanks and sensitive biotopes.
At Aquarium Plants Factory®, we specialize in providing healthy, high-quality Vitro Culture® plants, shipped in either sealed tissue culture cups or sterile bags. In this step-by-step guide, we’ll show you exactly how to prepare and plant your tissue culture plants to ensure optimal growth and success in your aquarium.

🧪 What You’ll Need:
-
A clean workspace
-
Small bowl of room-temperature water
-
Fine tweezers or clean fingers
-
Aquascaping scissors (optional)
-
Gentle aquarium lighting (if you plan to hold the plant before use)
✅ Step-by-Step Instructions:
Step 1: Unpack Carefully
Tissue culture plants are sealed to maintain sterility. Gently open the Vitro Culture® bag or cup with clean hands. Be cautious not to damage the delicate plantlets inside.
Pro Tip: If the bag is cloudy or contains liquid, this is normal—it's part of the nutrient-rich medium that supports plant growth.
Step 2: Remove the Medium
Tissue culture plants grow in a nutrient gel or liquid (called agar or vitamin gel), which must be completely removed before planting.
-
Gently place the plant in a bowl of room-temperature water
-
Swirl it around to help loosen the gel
-
Repeat with fresh water if necessary
Avoid planting with the gel still on the roots—it can trap debris and promote mold or algae in your tank.
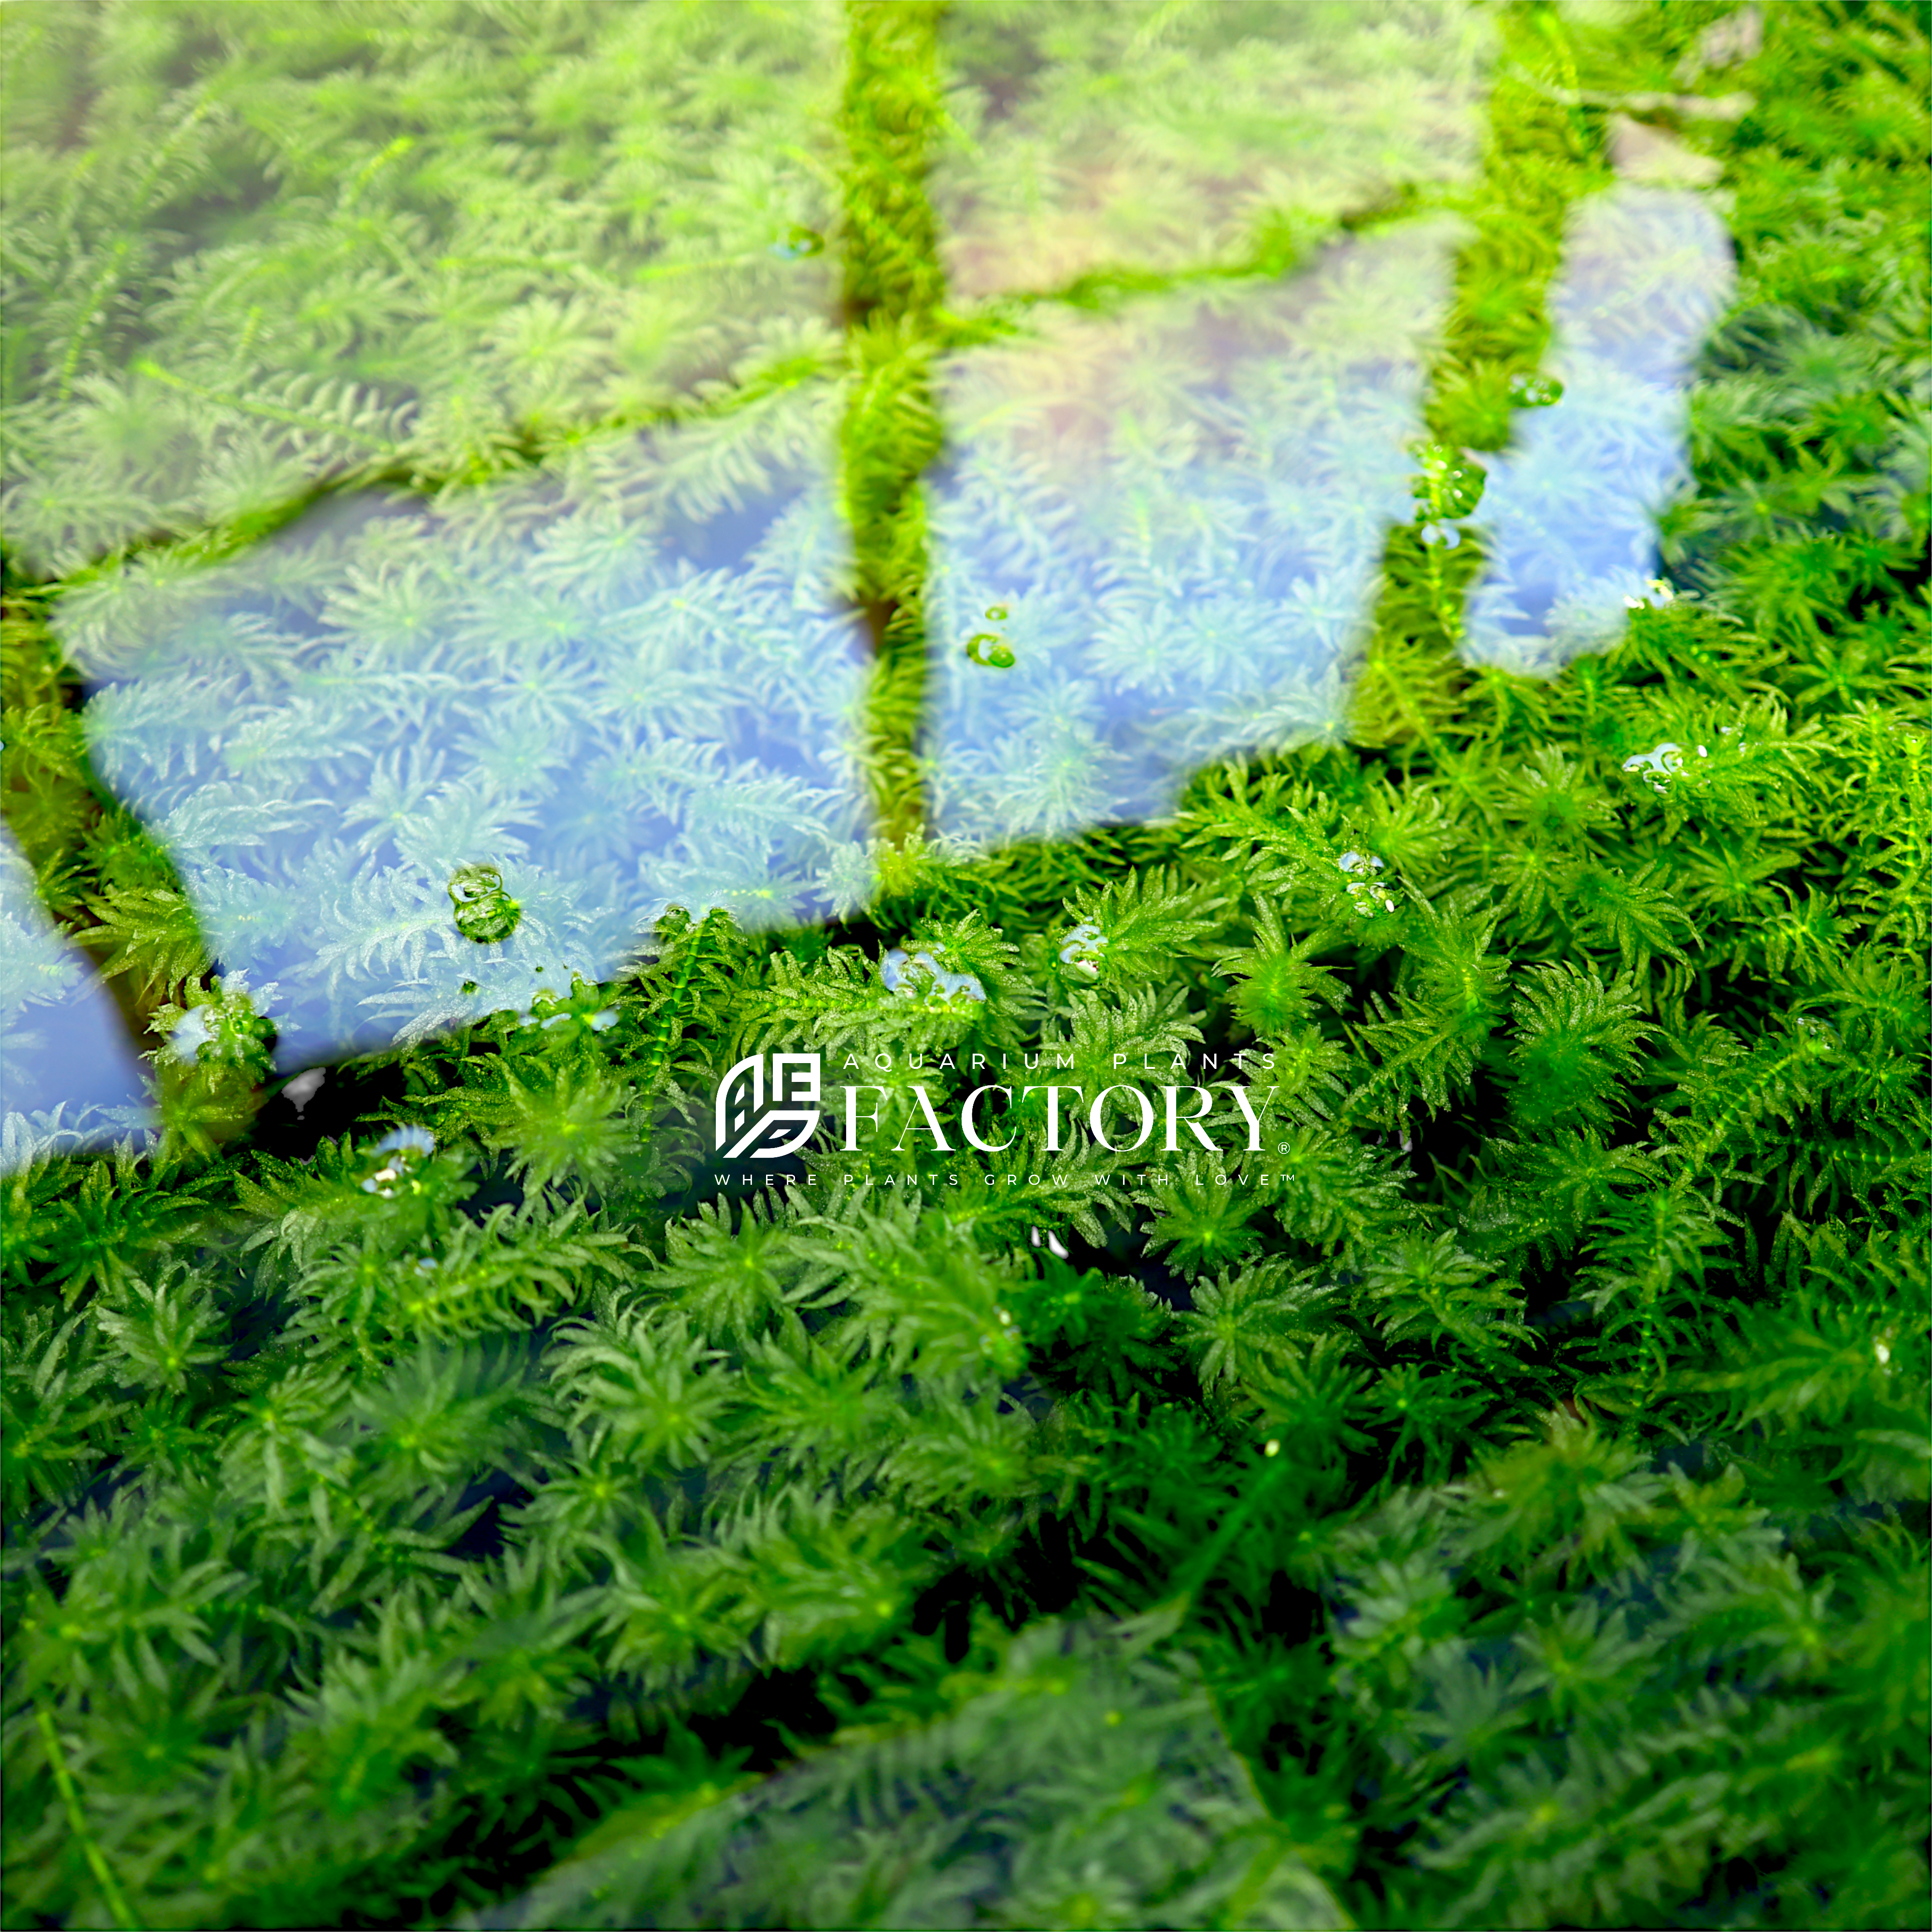
Step 3: Separate the Plantlets
Once the gel is rinsed off, you’ll see small clusters of plantlets. Use clean fingers or aquascaping tweezers to gently divide them into smaller portions.
-
For carpeting plants: split into 5–10 clumps to cover more area
-
For stem plants: separate into individual or paired stems
-
For rhizome plants (e.g., Anubias or Bucephalandra): keep the rhizome intact and avoid burying it
Step 4: Plant with Care
Using tweezers, gently insert the plants into your aquarium substrate or attach them to hardscape.
-
Stem plants & carpeting plants: Insert lightly into the substrate, just deep enough to anchor
-
Rhizome plants (Anubias, Buce): Tie or glue to driftwood, rocks, or decorations—never bury the rhizome
Avoid pressing too firmly—roots need access to oxygen and space to grow.
Step 5: Provide Optimal Conditions
Once planted, ensure the plants adjust comfortably:
-
Lighting: Moderate to high depending on species
-
CO₂: Optional, but strongly beneficial for fast growth
-
Fertilization: Begin dosing liquid fertilizers 1–2 weeks after planting
-
Water changes: Perform regular changes to prevent melt or algae issues
🌿 Extra Tips for Success:
-
Let plants recover in the sealed cup or bag under gentle light if you don’t plan to plant them right away (for up to 5–7 days).
-
Expect a short period of “adjustment melt” as plants transition to submerged growth—new growth will emerge quickly in healthy tanks.
-
Avoid overcrowding—good circulation prevents algae and supports healthy roots.
🌟 Why Choose Vitro Culture® Plants?
✅ 100% Free of pests, algae, and contaminants
✅ Long shelf life when stored properly
✅ Ideal for shrimp and sensitive species
✅ Easier plant mass propagation
✅ Clean and ready-to-grow in your aquascape
🌐 Ready to Try Tissue Culture Plants?
Explore our full Vitro Culture® Collection and elevate your planted aquarium with pristine, lab-grown plants that are safe, clean, and easy to care for.
📸 Tag Us on Instagram!
We love seeing how your tissue culture plants grow. Tag us with #AquariumPlantsFactory to be featured!
Featured blog
How to Grow Lotus Flowers from Mixed Lotus Seeds (Nelumbo nucifera) – A Complete Guide


April 26, 2025
Aquarium Plants Factory
How to Grow Lotus Flowers from Mixed Lotus Seeds (Nelumbo nucifera) – A Complete Guide
Mastering the Art of Growing Cabomba Plants: Tips for Success

March 19, 2025
Aquarium Plants Factory
Mastering the Art of Growing Cabomba Plants: Tips for Success
The Ultimate Guide to Fontinalis antipyretica (Willow Moss)


March 1, 2025
Aquarium Plants Factory
The Ultimate Guide to Fontinalis antipyretica (Willow Moss)
The Ultimate Guide to Getting Rid of Cyanobacteria in Aquariums


February 1, 2025
Aquarium Plants Factory
The Ultimate Guide to Getting Rid of Cyanobacteria in Aquariums
Ceratophyllum (Hornwort): The Perfect Aquatic Plant for Low-Maintenance Aquariums


December 1, 2024
Aquarium Plants Factory
Ceratophyllum (Hornwort): The Perfect Aquatic Plant for Low-Maintenance Aquariums
Anacharis (Egeria densa): The Perfect Beginner's Aquatic Plant for Freshwater Aquariums

November 1, 2024
Aquarium Plants Factory
Anacharis (Egeria densa): The Perfect Beginner's Aquatic Plant for Freshwater Aquariums
- Choosing a selection results in a full page refresh.
!